Little things accrue (of course they disappear too), little things we mean to do. Here gathered as some sort of existential exhibit are four, all sharing a wood and glue theme.
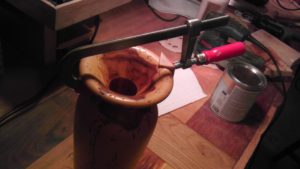
Fix #1 – A Vase of Wormy Pine had a broken rim. A small break really.
The good part of this repair was that I was able to find a similar softwood and pretty much closely match both color and grain direction. The less than good part was that all the curve fitting, to get the inserted triangle to match the fluting curls top and bottom, had obvious failings. Overall a useful lesson in how easy it is to fail at something with no conceptual challenge. The execution was more demanding than I had patience for, and the benefit of approaching perfection (other than aesthetic) not high at all.
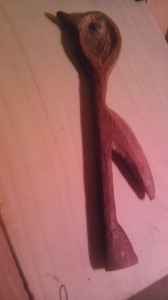
Fix #2 – Second beak break requires more substantial address
This concerns the original war spoon, the progenitor, a spoon that sits on my desk and doubles very nicely as my back-scratcher, and as such the availability of the beak is a functional requirement.
Sometimes the war spoon falls off the desk and twice now his beak has broken off. This happens right where the beak joins the spoon head and it is made the more likely by the grain being perpendicular to the direction of the beak. Reconstructive surgery!
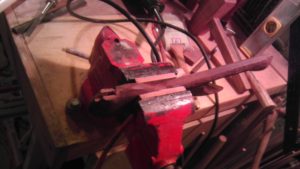
Gruesomely the patient lay without anesthesia in the operating vise for over 12 hours. I used saw and chisel and drill to form a half inch deep base in the center third of the spoon bowl side. Similarly I dug such a trench at the base and top side of the beak. I reattached the beak –
And then inserted a fitting piece of mahogany (the same wood as the spoon) into the trench, in this case with the grain perpendicular to the direction of the beak. Instead of the wood glue that I had used in the previous ‘stick it back on’ repair I used epoxy-resin, and mixed up a batch that I laced with sawdust from the mahogany. This would give the right color to any hardened glue exposed in the final joint. Came out great – remind me I have to return here to get a picture of the result.
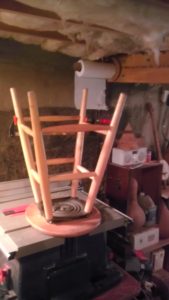
Fix #3 – Kitchen stool had a broken stretcher.
More like obliterated. All that remained was about fifteen percent of the original, not at all re-usable. The wood seemed to be a maple with some sort of half-washy finish. By that I mean a little milkiness, but some grain visible.
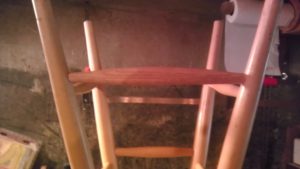
I had no maple lying around, nor any half-washy finishes, but I did have a piece of red oak that upon which I had been testing a draw knife. I decided that to use a draw knife to fashion anything that would experience utility was a rare notch for a modern belt. Thing was, it’s such an intuitive and satisfying tool to use. Took no time. Easy to zoom right to target, with opportunity for subtle and creative nuance.
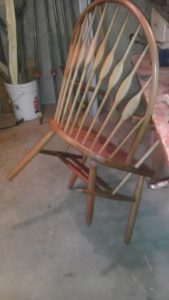
Fix #4 – Dining room chair has two dislocations of the leg
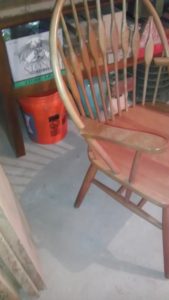
The back right leg no longer goes into the seat nor into the stretcher
This had been fixed before, but before I knew anything of glue. I think I used something soft and rubbery – not really very much adhesiveness – and as you might expect, it did not hold under the stresses a chair would naturally experience.
This was therefore a straightforward fix. Use a glue with high adhesiveness and great strength.
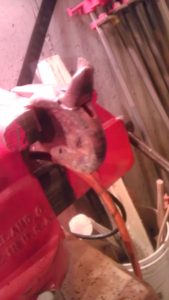
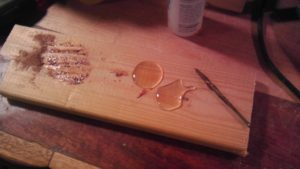
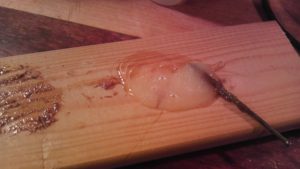
Epoxy-resin. This is the same stuff I used for the beak repair. Notice the dried and darker smudge on the left. That is where I mixed the beak batch with the sawdust.
Now it sits drying. I expect it should be stronger than new by tomorrow. If not I will report.
Please have a happy and effective day.

